Upload one photo, set azimuth, elevation, and distance, then generate a new front, side, back, top-down, low-angle, or close-up 2D view.
Use camera-angle controls for horizontal direction, viewpoint height, and framing, or build a front, right, back, and left 2D view set.
1 credit per generation
1Upload your image
Drop an image or click to upload
PNG, JPG, WebP, HEIC, HEIF up to 12MB
2Choose a view
Where should the camera move?
right view · eye-level · medium shot
Result will appear here
Upload an image, choose your camera angle, and hit Generate
How the AI Camera Angle Generator Works
Use presets or 3D camera controls to generate another viewpoint from a single photo
01
Upload Your Image
Upload any photo — a product, portrait, building, or object. The AI analyzes its 3D structure from the 2D image.
02
Choose Your Angle
Use quick presets or fine-tune with sliders. Control horizontal rotation (0°–360°), vertical angle (-30° to 90°), and zoom distance.
03
Generate & Download
AI renders the image from your chosen camera angle in about 10-20 seconds. Save individual views or build a four-view set.
Timing note: processing includes safety checks and provider availability. The estimate above is not a guaranteed completion time. For a consistent campaign set, see our three-camera-angle product workflow and review checklist.
Camera-angle examples
AI camera view generator for multiple angles
Generate front, side, back, elevated, low-angle, wide, and close-up views without building a 3D model first. These examples show the kinds of multiple camera angles you can request; output details vary with the source image.
Source viewNew camera angle
Illustrative example created for this page. Generated outputs can vary.
Product photography
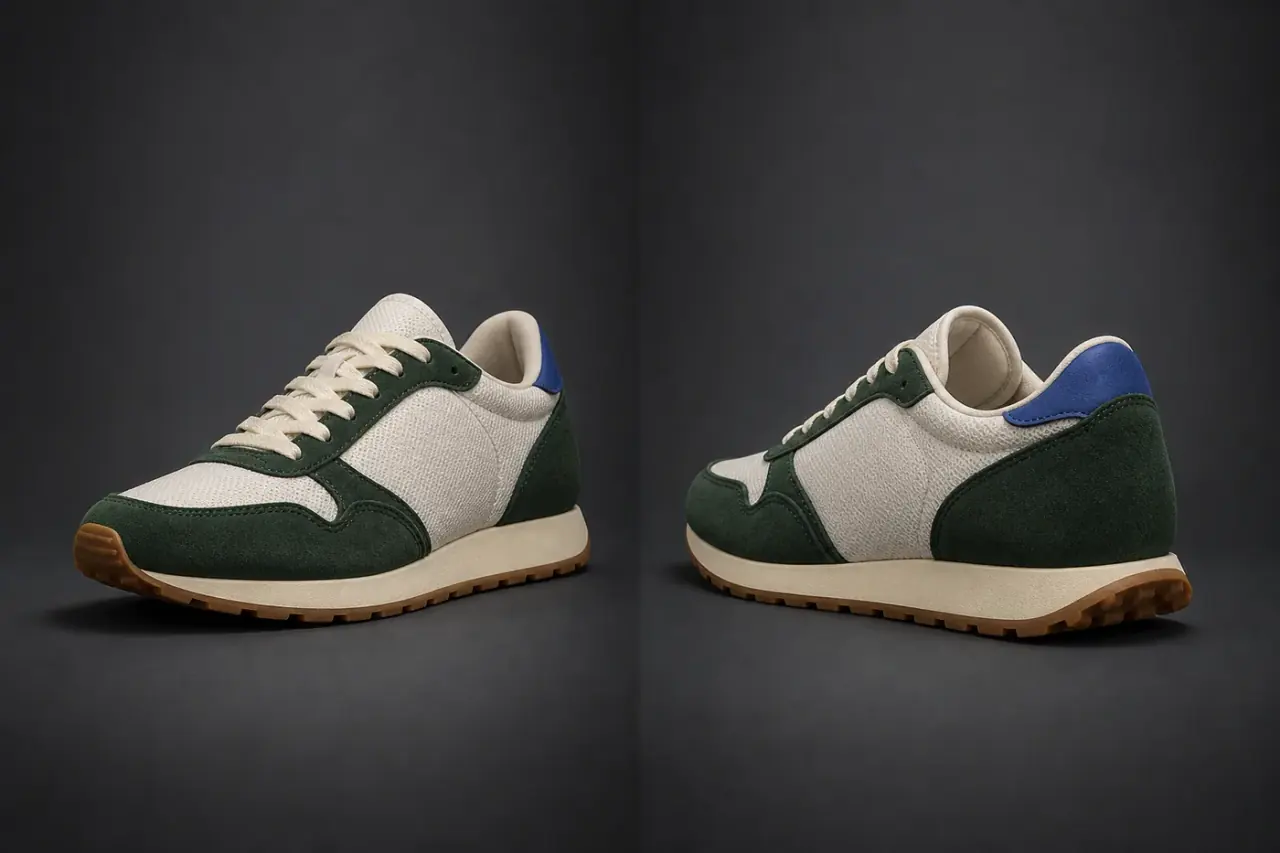
Turn one product photo into more useful selling angles
Create a second viewpoint without arranging another studio shoot. A front, side, or rear three-quarter view can help shoppers understand shape, materials, and construction.
Front three-quarterRear three-quarterConsistent framing
Eye-level viewElevated view
Illustrative example created for this page. Generated outputs can vary.
Architecture and places
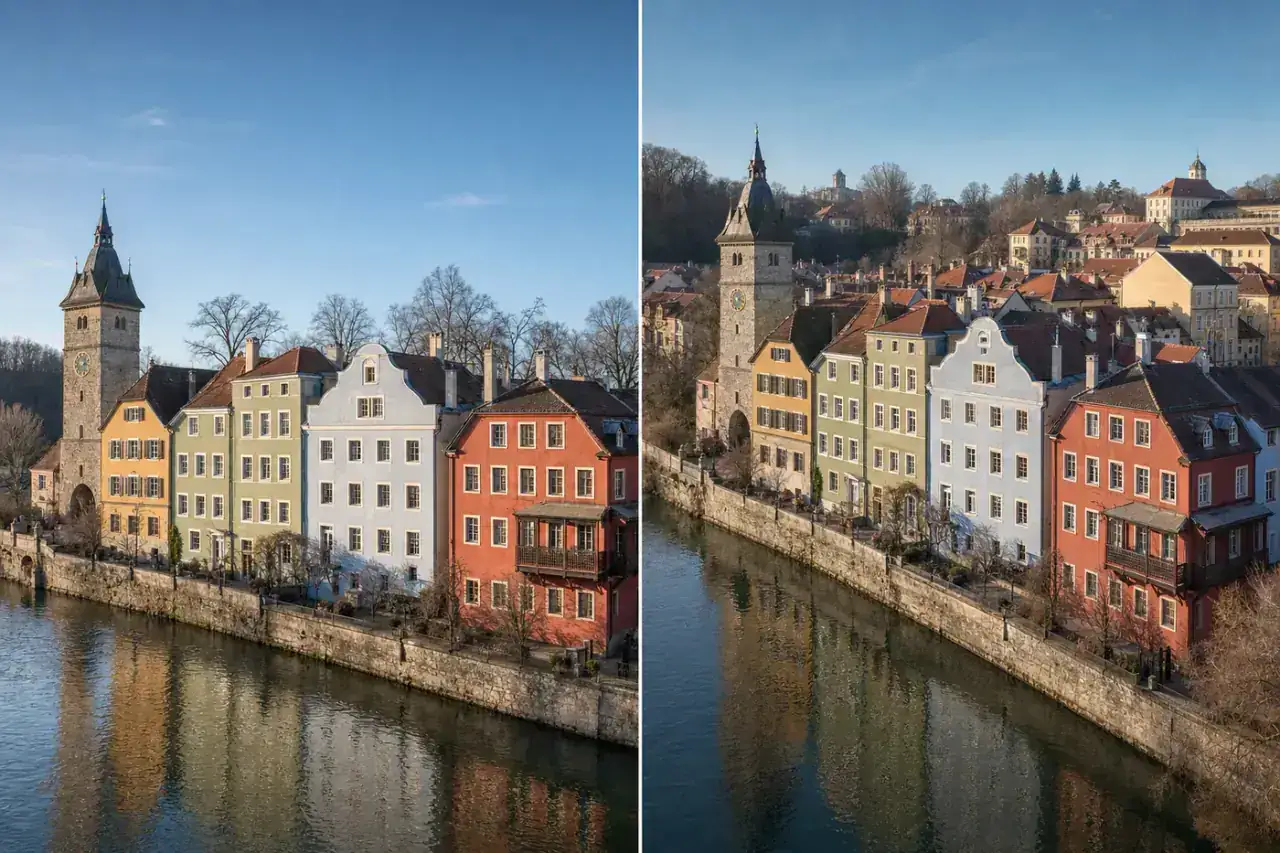
Explore a scene from eye level and an elevated viewpoint
Camera height can change how a building, interior, or location reads. Use an elevated angle to reveal spatial relationships, then return to eye level for a more natural presentation.
Eye levelElevated viewScene composition
Front · Right · Back · Left
Illustrative example created for this page. Generated outputs can vary.
Essential four-view set
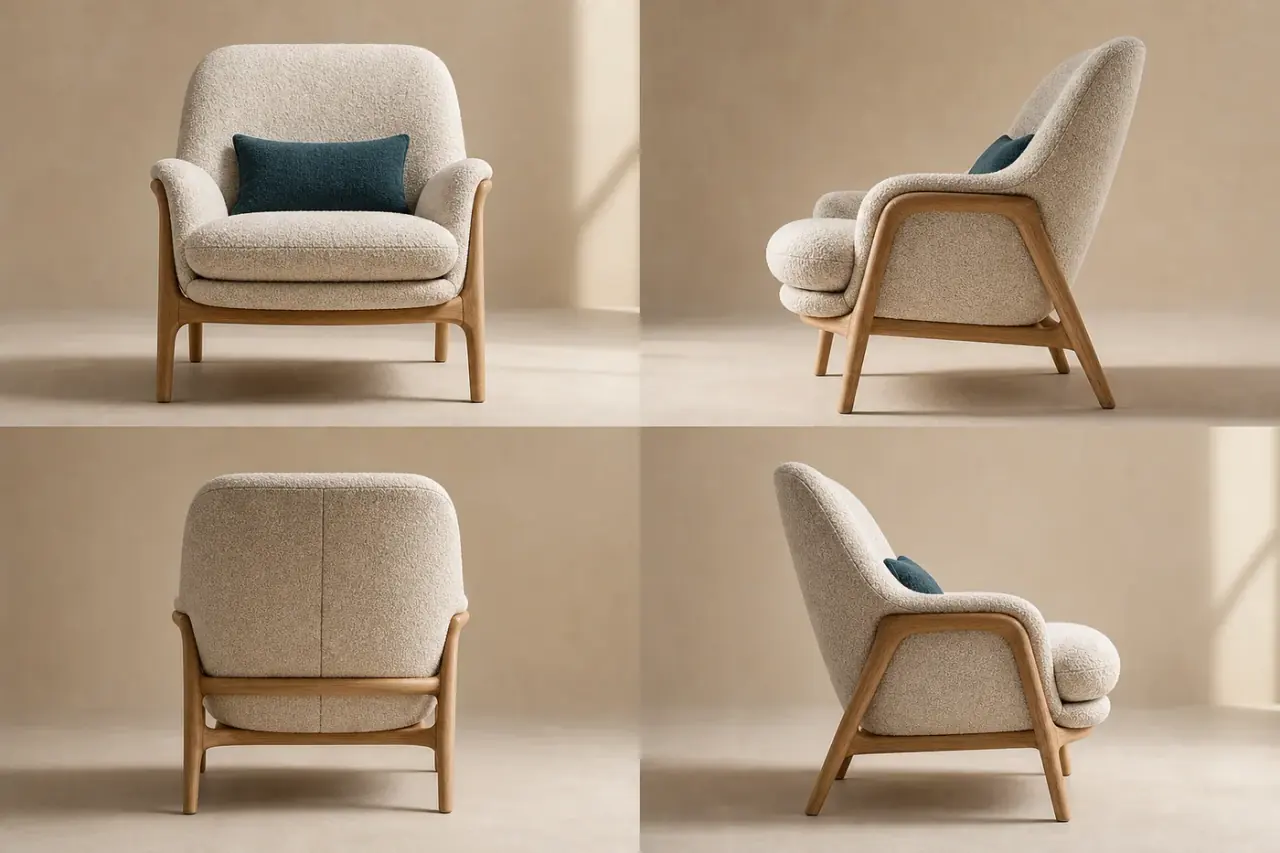
Build front, right, back, and left references in one run
The four-view action sends four separate generations in sequence and keeps every successful result in your view collection. If one angle is weak, you can select and regenerate only that view.
FrontRightBackLeft
Practical camera control
Control azimuth, elevation, and distance
Nano Image estimates shape, depth, lighting, and spatial layout from one photo, then creates a new 2D view from the camera position you choose.
Azimuth / horizontal rotation
Move through front, right, back, left, and intermediate three-quarter angles. Start with a 45° or 90° change before trying the hidden back side.
Elevation / camera height
Use a low angle for a stronger hero shot, eye level for a natural product view, or an elevated angle for rooms, layouts, packaging, and architecture.
Distance / framing
Move from a wide establishing view to a medium shot or close-up. Product fidelity mode asks the model to preserve shape, materials, color, logos, and labels.
Choose by output
AI camera angle or 3D model: which should you use?
Use AI Camera Angle when you need another 2D view of a photo. Use Image to 3D when you need a rotatable GLB from a picture. Use Text to 3D when you need a GLB from a written object description.
AI Camera Angle, Image to 3D, and Text to 3D compared by input, output, best use, and limitations
Front, side, back, top-down, low-angle, and close-up images
No mesh, GLB, measurements, or exact hidden geometry
Create a rotatable 3D model from a pictureImage to 3D
One object image
A downloadable GLB 3D model
Concept models, prototypes, and assets you need to rotate
Hidden surfaces and scale are inferred, not measured
Create a new 3D object from a descriptionText to 3D
One object prompt
A downloadable GLB 3D model
New props, characters, and object concepts without a source photo
Not an exact reconstruction or automatically ready for 3D printing
All three workflows generate new content. Review labels, textures, proportions, and unseen surfaces before publishing or using an output in production.
Perfect For
Replace expensive multi-camera setups with a single AI-powered tool
E-Commerce
Create front, side, back, and detail product views from one source photo.
Architecture
Visualize buildings and spaces from bird’s-eye, street-level, or elevated angles.
Character Design
Create multi-view reference sheets for 3D modeling and game character design.
Social Media
Create dynamic multi-angle content that stands out in feeds and stories.
Frequently Asked Questions
How does AI generate different camera angles from a single photo?
The tool sends your source image and selected azimuth, elevation, and distance to an image-generation model. The model creates a new 2D image that matches the requested viewpoint. Areas missing from the source photo are inferred, not recovered from a hidden 3D scan.
What types of images work best?
Objects, products, vehicles, buildings, and characters with clear shapes work best. The AI excels at subjects with recognizable 3D structure. Simple backgrounds tend to produce cleaner results than complex scenes.
Is this AI camera angle generator free?
Registered Free accounts receive 8 credits each month, enough for 8 camera-angle views. Sign-in is required, and each view costs 1 credit. The essential four-view set costs 4 credits. Starter and Pro use monthly included credits first, then extra credits.
Can I use this for commercial product photography?
The tool is designed for product-photo workflows, concept development, listings, and creative assets. Make sure you own or have permission to use the source image, and review generated labels, logos, and inferred product details before publishing.
What angles can I generate?
Full 360° horizontal rotation (front, right, back, left, and everything in between), vertical angles from low-angle (-30°) to bird's eye view (90°), and zoom levels from wide shot to extreme close-up.
Does the camera angle generator create a real 3D model?
No. It generates a new 2D PNG that looks like the scene was photographed from another viewpoint. It does not output a mesh, GLB, CAD file, depth-accurate model, or measurement-ready 3D asset. Use Image to 3D when you need a rotatable, downloadable GLB file.
Continue your multi-angle workflow
Learn how the model and consistency checks work, or prepare the generated angle for a store, presentation, character reference, or campaign.
Nano Image changes the apparent camera angle of one uploaded photo with three direct controls: azimuth for 0–360° horizontal rotation, elevation for −30–90° vertical angle, and distance for wide-to-close-up framing. It also includes front, side, back, top-down, low-angle, and three-quarter presets. The result is a newly generated 2D image, not a measurable 3D model.
Azimuth / horizontal angle
0–360° rotation through front, right, back, left, and intermediate views
Elevation / vertical angle
−30° low angle through eye level to 90° top-down
Distance / framing
Wide, medium, close-up, and detail-shot compositions
Input
One JPG, PNG, WebP, HEIC, or HEIF image up to 12MB; at least 256 × 256 pixels
Output
A generated 2D PNG; one view per request or a four-view set
Credits
1 credit per view; 4 credits for four views. Registered Free accounts receive 8 credits each month, enough for 8 views. Starter and Pro use monthly included credits first.
AI camera angle prompts vs. visual camera controls
You do not need a complicated camera-angle prompt. Direction, height, and framing controls build the viewpoint instruction for you. Start with Product hero for a three-quarter view, Flat lay for a top-down composition, or Detail shot for a closer crop. Use optional instructions only for details to preserve, such as the logo, label text, material, color, proportions, or background. A clear source photo matters more than a long prompt.
Which photo should I upload?
Use a sharp image with one complete subject, visible edges, and space around it. A plain background helps separate the subject from the scene. Avoid cropped handles, hidden attachments, reflections that obscure the shape, and tiny labels. Try a modest angle change before requesting the opposite side.
Can the generated back view be trusted?
The model invents details it cannot see. Back views, text, logos, fine geometry, and reflections can differ from the real product. Compare the result with your original references before using it in a listing. Use real photographs or a verified 3D asset when exact geometry, dimensions, or truthful product documentation is required.
How can I build a product-photo set?
Generate one hero view and inspect the label and shape first. Use the same original image for additional views, rather than repeatedly editing generated results. This reduces accumulated changes but does not guarantee consistency. After approving each view, remove its background or clean distractions, then resize it for your storefront. Each generation is charged separately.
Choose the right image editing tool
Camera angle generation, image cleanup, and background removal compared
Sign in to process images. Only upload content you own or have permission to edit. Sexually explicit content and exploitation are prohibited under our terms. Input safety blocks do not use generation credits. See current pricing and our privacy policy.
Ready to see your images from every angle?
Upload any photo and generate views that would require an entire camera studio — in seconds.